In this new blog post we are going to build a simple basic Next.js application , so you don’t have to know a lot about Next.js , all we are going to build or use is a demo project .
If you want to read more about the Azure Static Web App Service follow this link .
Creating the Next.js application
To build a next.js application we are going to use a couple of commands :
“Make sure you have a recent version of Node.js installed”
Setup :
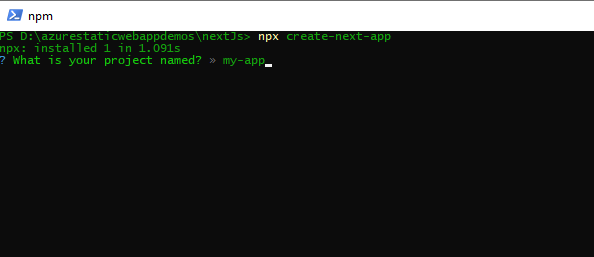
npx create-next-app
 # or
yarn create next-app
The project will be generated automatically. Let’s go to our project using !
cd .\my-app\
You can use npm install to install missing dependencies .
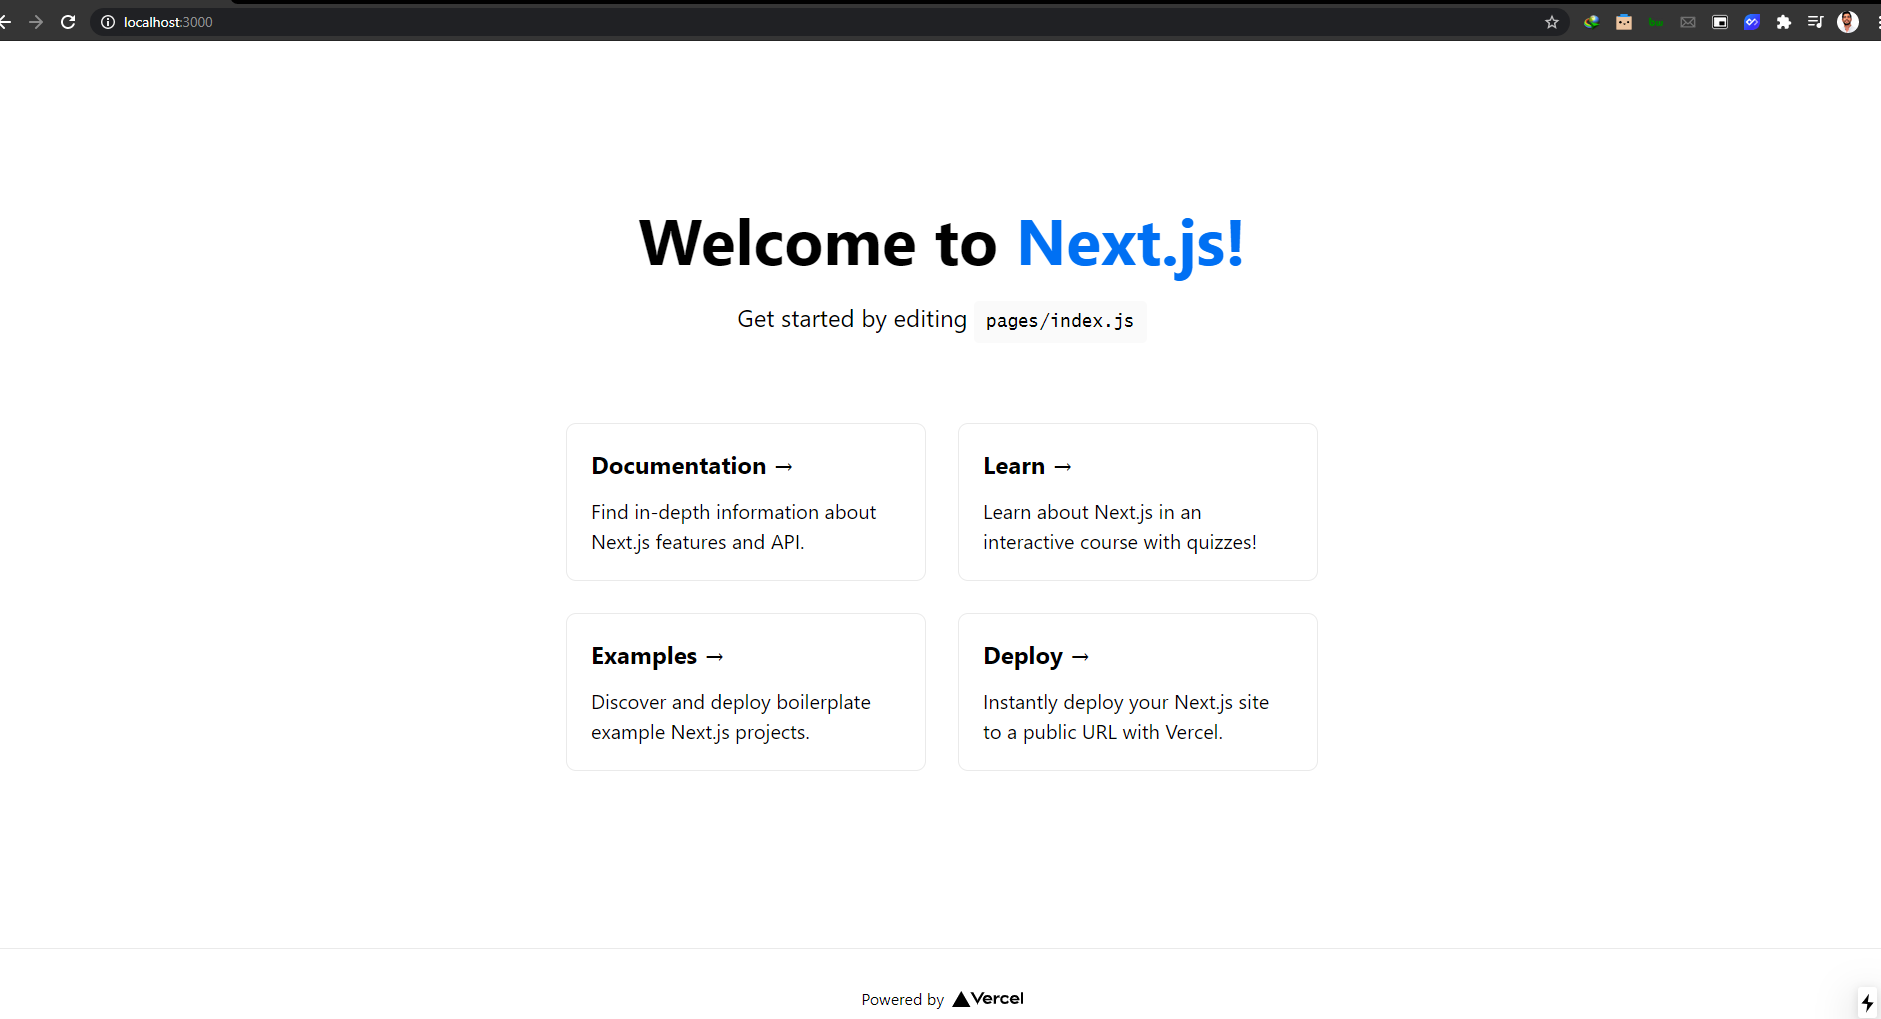
To run Next.js app in development: :
npm run dev
Generate a static website from Next.js build
When you build a Next.js site using npm run build, the app is built as a traditional web app, not a static site. To generate a static site, use the following application configuration.
- To configure static routes, create file named next.config.js at the root of your project and add the following code
module.exports = {
  exportTrailingSlash: true,
  exportPathMap: function() {
    return {
      '/': { page: '/' }
    };
  }
};
This configuration maps / to the Next.js page that is served for the / route, and that is the pages/index.js page file.
Update the package.json‘s build script to also generate a static site after building, using the next export command. The export command generates a static site.
"scripts": {
  "dev": "next dev",
  "build": "next build && next export",
},
Now with this command in place, Static Web Apps will run the build script every time you push a commit.
npm run build
Pushing code to GitHub
Now after building our project on our local computer ,we are now going to push it to GitHub .
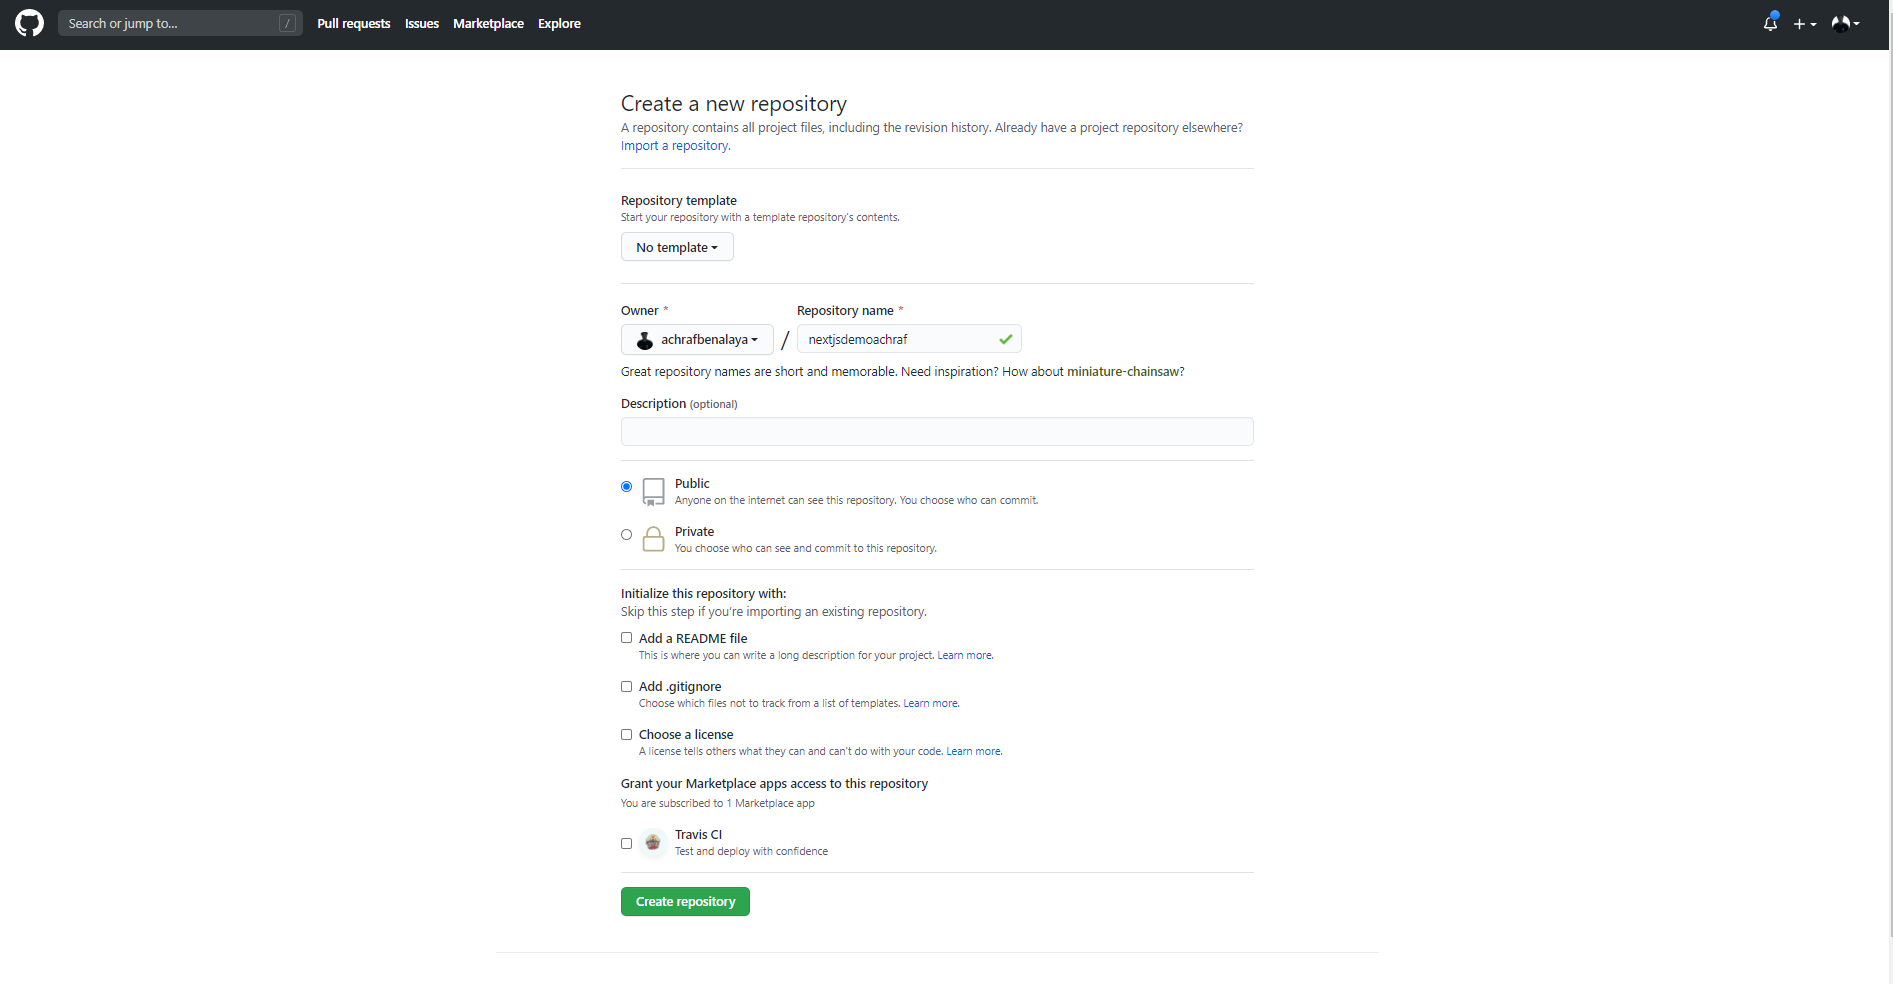
For that we need to create a new repository :
Now to push our solution to GitHub we are going to use a couple of commands :
git add -A
 git commit -m "first commit"
git branch -M master git remote add origin https://github.com/achrafbenalaya/nextjsdemoachraf.git
 git push -u origin master
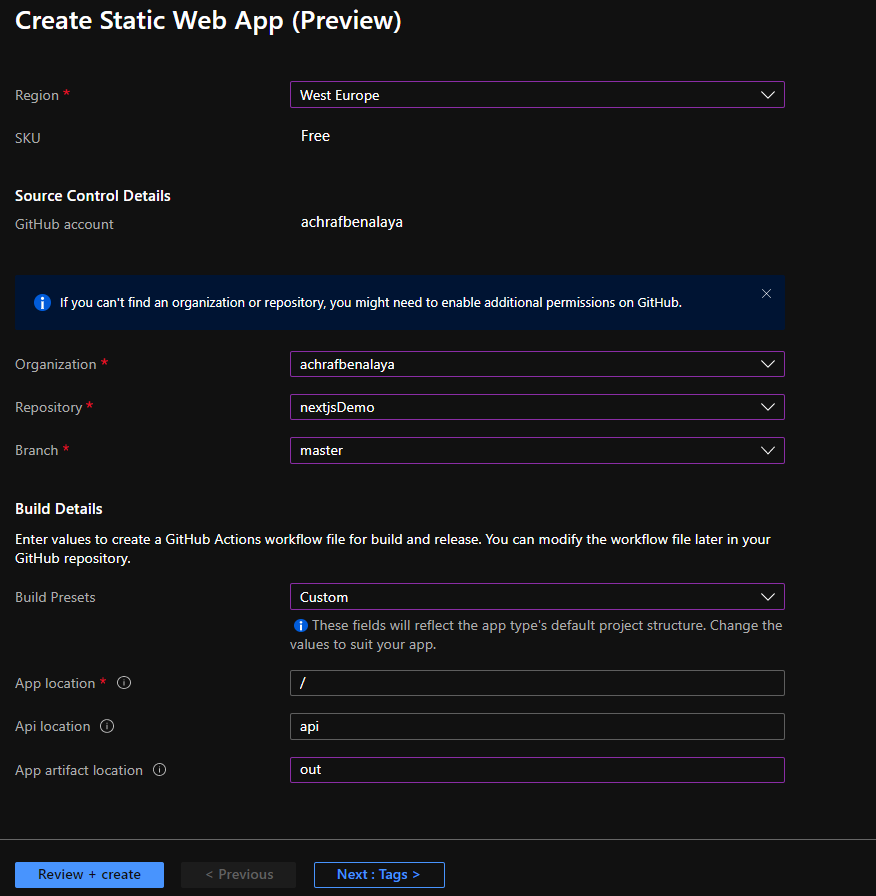
Create Static Web App
make sure to choose Custom for the build and for the App artifact write : out
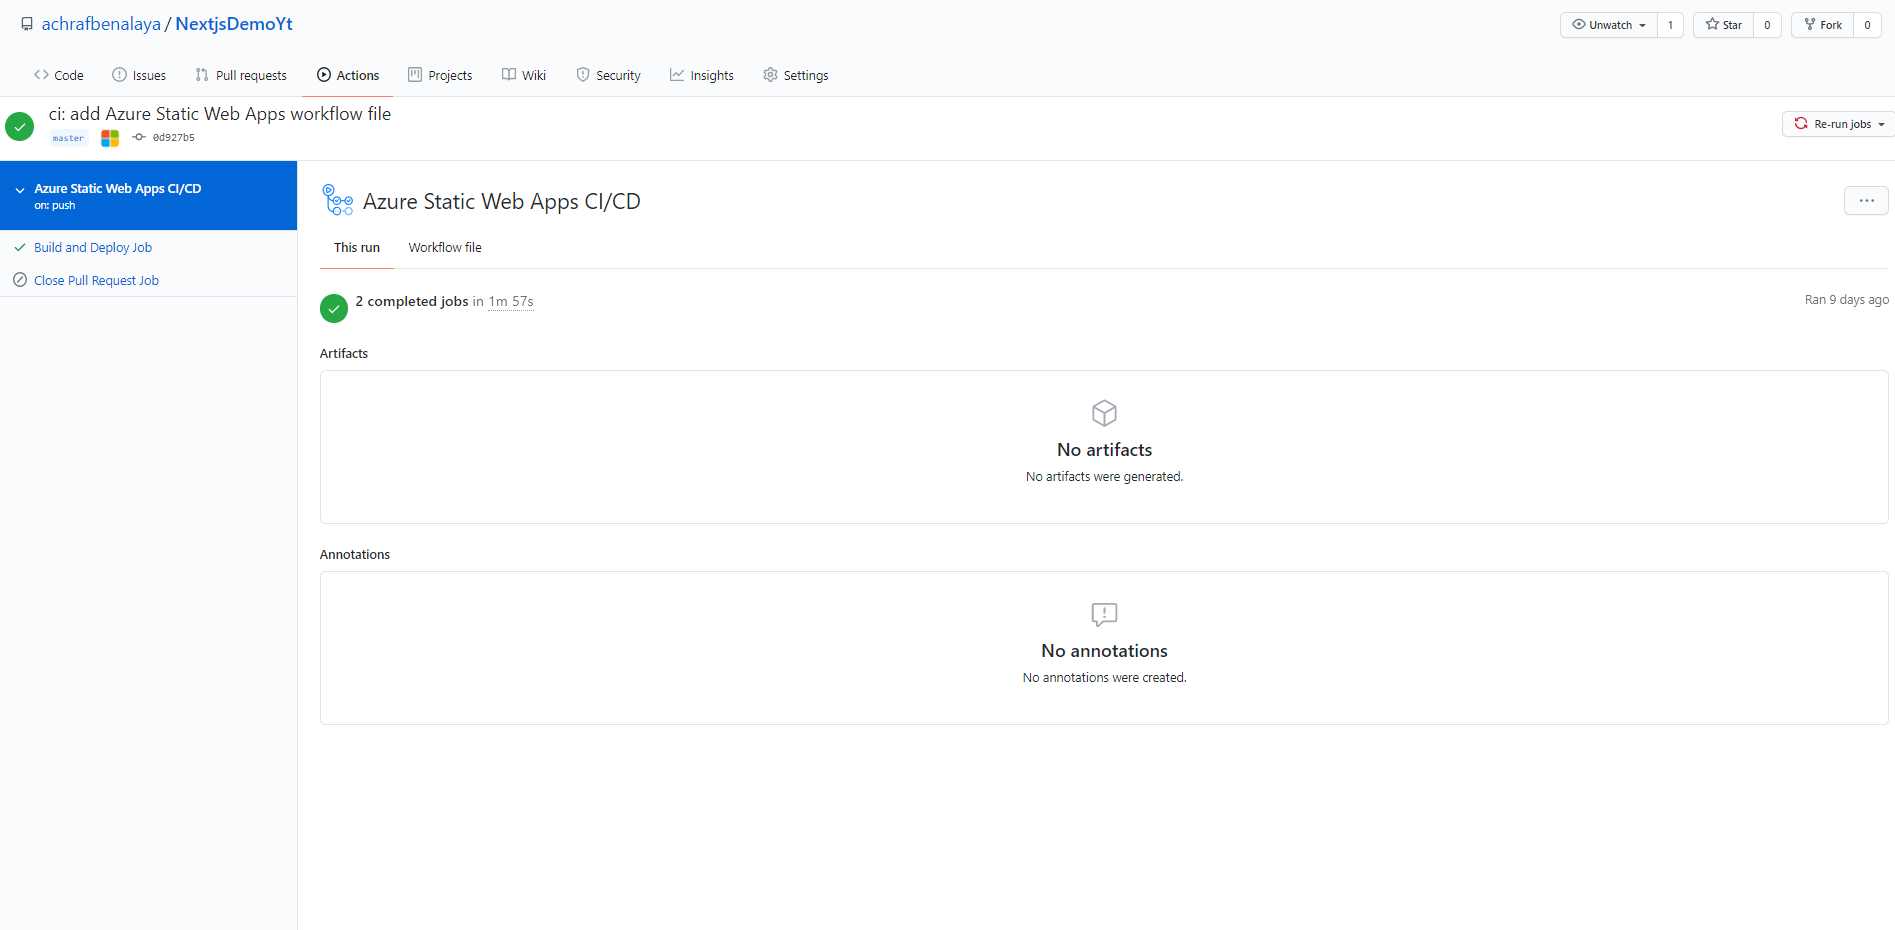
After you create the app , the GitHub action will start and create a new fresh build
now all you have to do , pull your project since there is a new yml file that contain the build config , do not touch that file in local, choose do your modifications on your website and push again and everything will go smoothly .
Full demo in the video Below :
